After, oh, about 17 years of painting as an adult, I have worked in…TEN that I can count off the top of my head (maybe more?) different studio spaces. This includes two rented spaces, two basements, one outbuilding, at least four “spare rooms” all in different homes, and one setup in which I painted while sitting on the edge of my bed. I have painted sitting on a drop cloth in the middle of my dining room floor. I have painted outside in my back yard, weather permitting, with my supplies carried outside and back in for every painting session.
I have cleaned my brushes in kitchen sinks, bathroom sinks, shop sinks, and with paper towels outside in the grass. I have stored art supplies, shipping supplies and tools in my garage, under my carport, in basements, in my home office, in my bedroom, and on my living room floor. I have experienced disastrous incidents involving painting supplies when met with pets, toddlers and clumsy feet.
Consequently, I have a very clear image in my mind of what I want and need in a painting studio, and I’ve been working towards manifesting my “dream studio” for all of my adult life. Space and budget limitations being what they are, I have to be realistic, but what I have planned is pretty close to that dream.
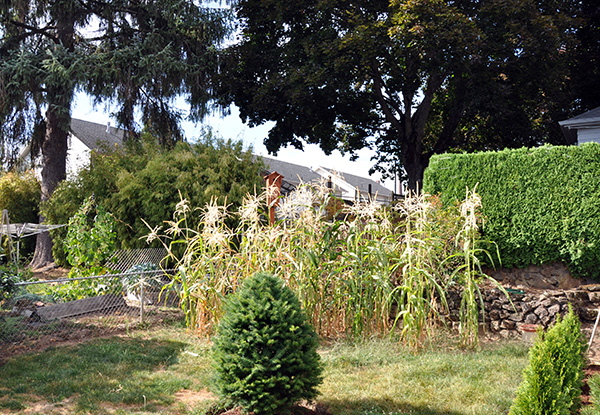
As you may recall, here is the spot in my back yard that I designated as my studio build site upon moving into my current home more than a year ago:
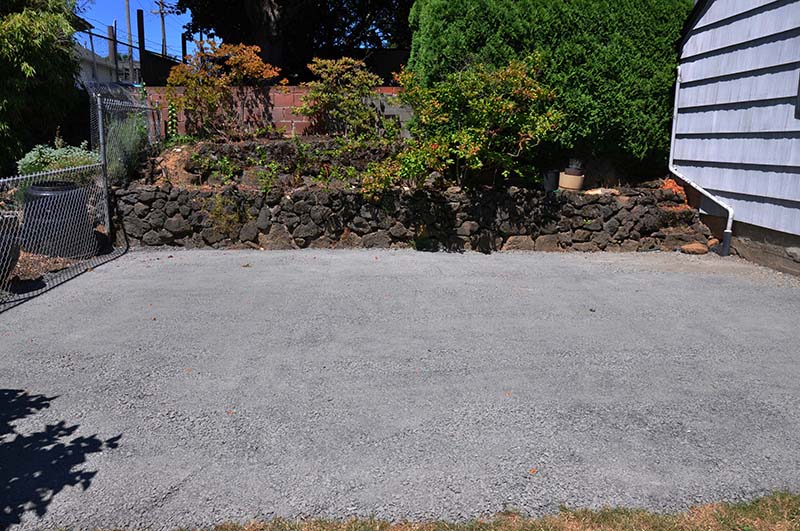
Here is the build site several weeks ago after I got a compacted gravel pad installed to be my new studio’s foundation. (Portland area folks in need of a landscaper: I cannot recommend Patrick Carter-North of Prestige Landscape enough.)
Shortly after this, my builder came in and got to work. There has been a whirlwind of construction progress ever since.
My builder has been working from the designs I provided him. I’m working with Randy Berger of Berger Construction–Portland/Salem-area folks take note: You cannot go wrong hiring this contractor. I am overjoyed with the quality he has consistently delivered, on schedule and under budget!
I’ve been doing my best to document the progress as the building has gone up. Here, the floor is in and they’ve started framing the walls. The structure is 12′ x 16′.
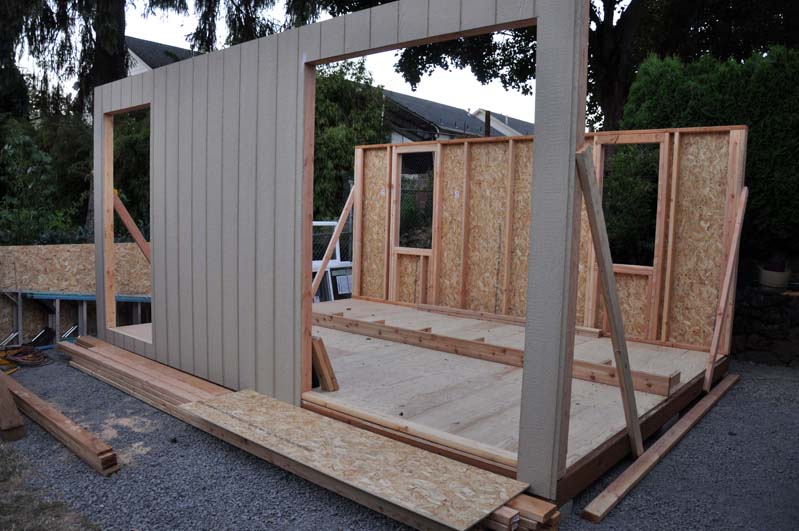
More walls are up!
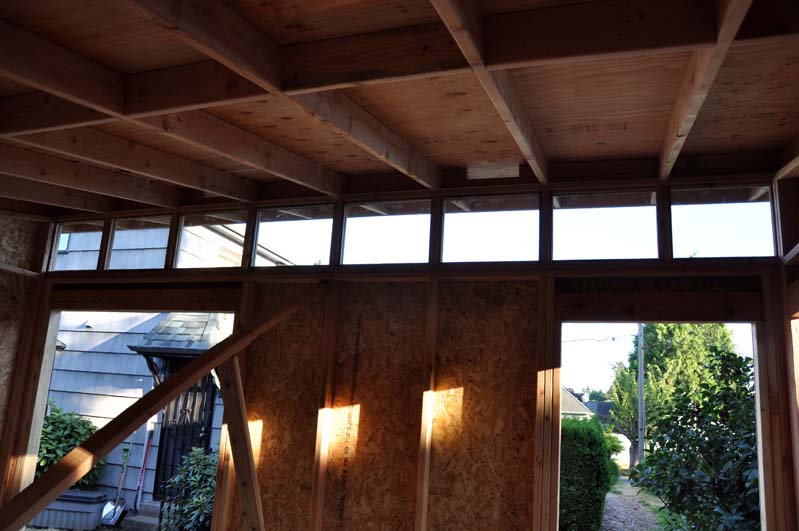
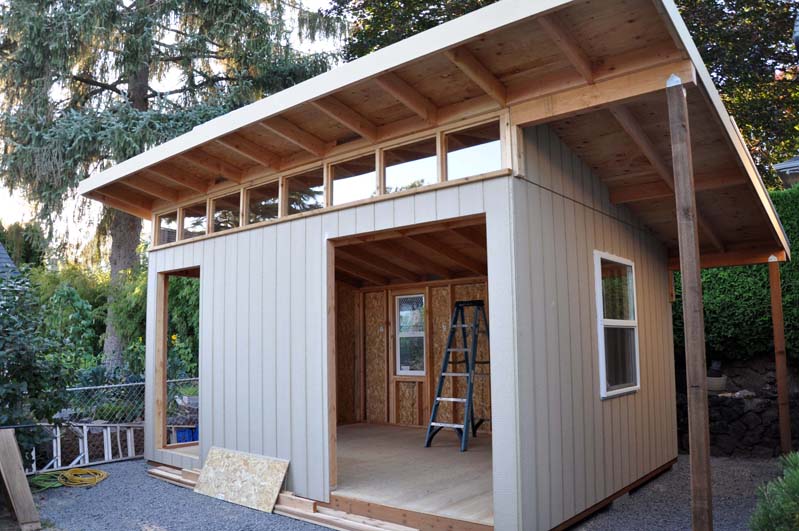
The clerestory windows are added at the top. This feature has been on my dream wish list for a studio, for the past 5+ years since I’ve been researching possible studio designs!
For my studio, I’ve also chosen a dramatic slant to the roof. The back wall is only 7′ high, while the front wall is a soaring 13′!
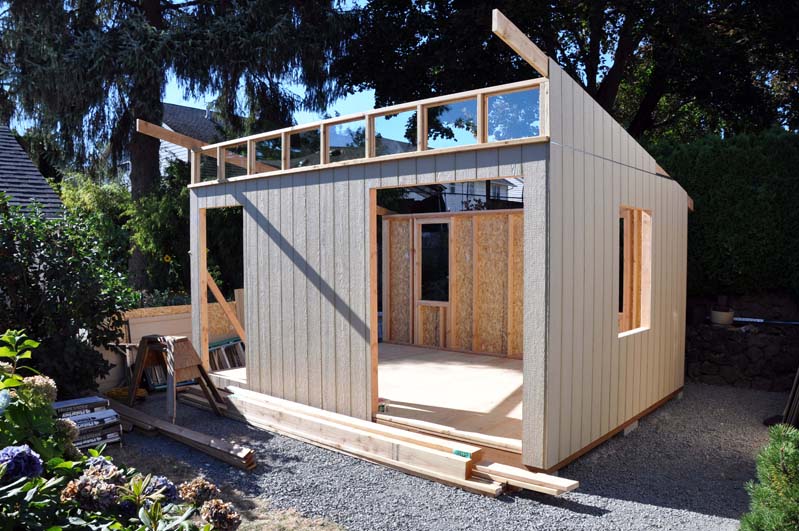
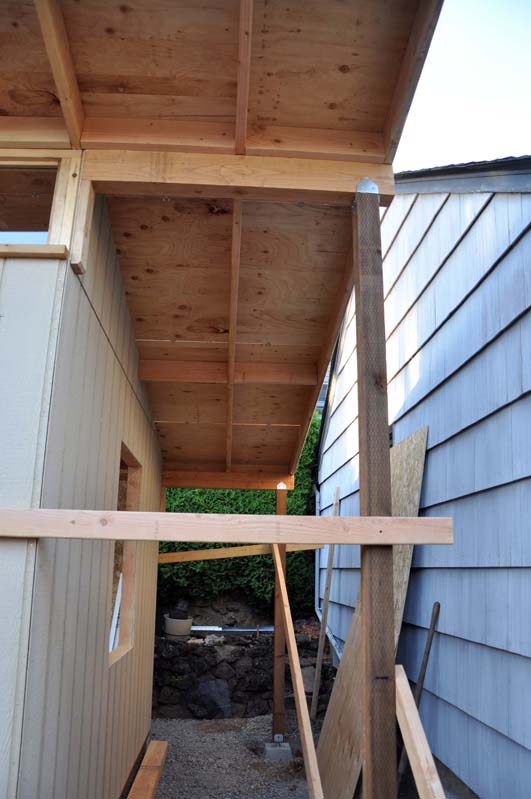
Here they’ve added the support posts and started to frame the overhang on the right side of the building, which will give me a small porch-like area off this side of the building.

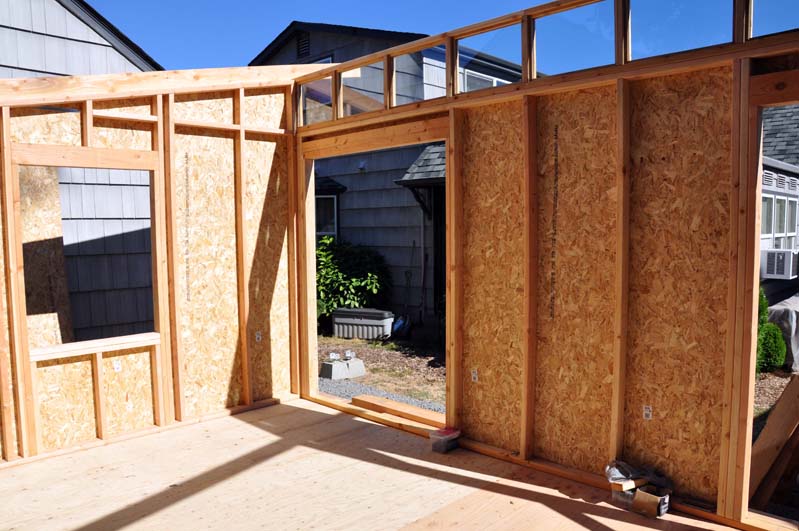
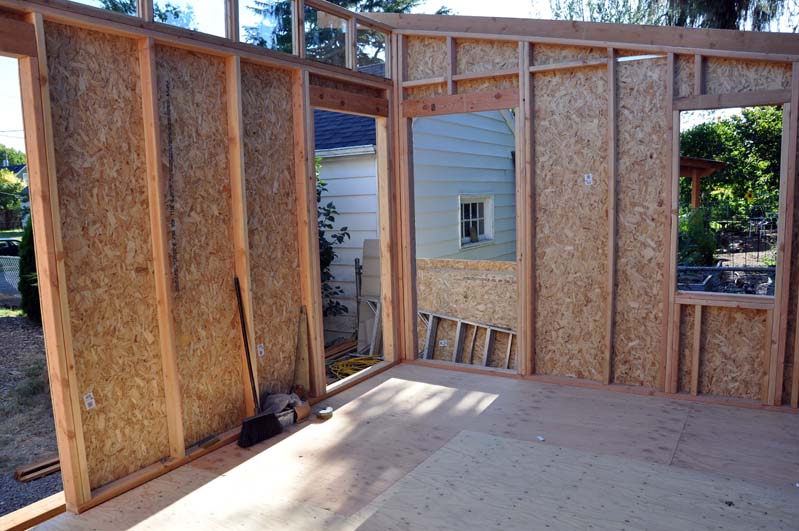
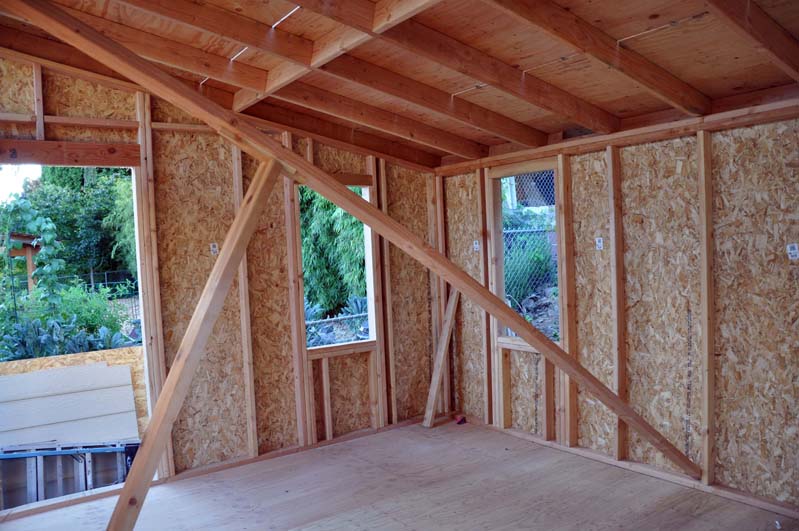
You can now really get a feel for the interior space.
At this point, in a very cool but short-lived experience, I am able to stand in the center of my studio while it is still open to the sky and trees above.
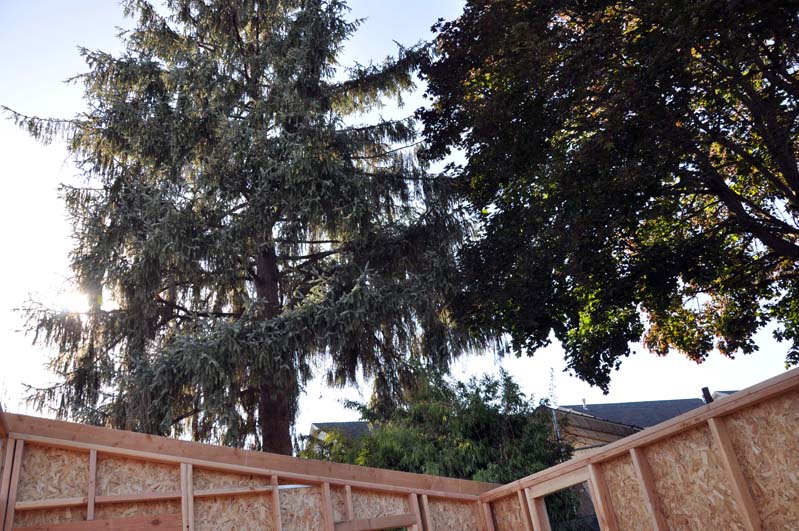
But then the roof went up and I forgot all about that.

Now I am feeling giddy with excitement as my dream is really taking shape. Pinch me–is this real??
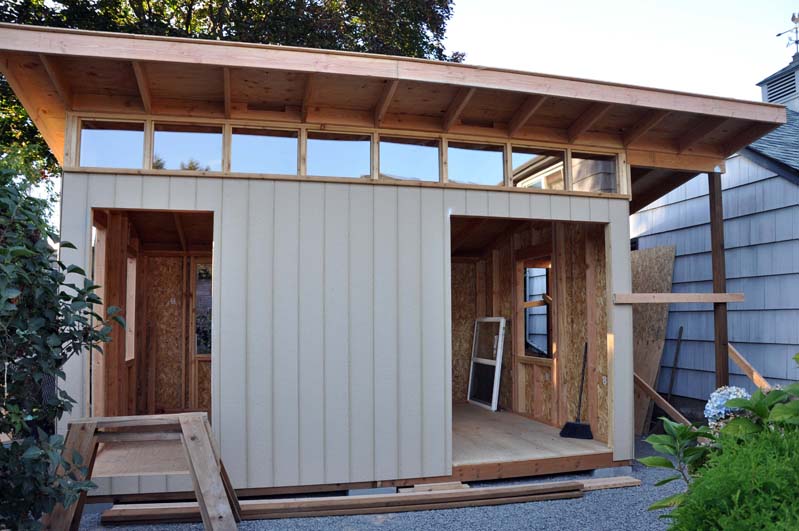
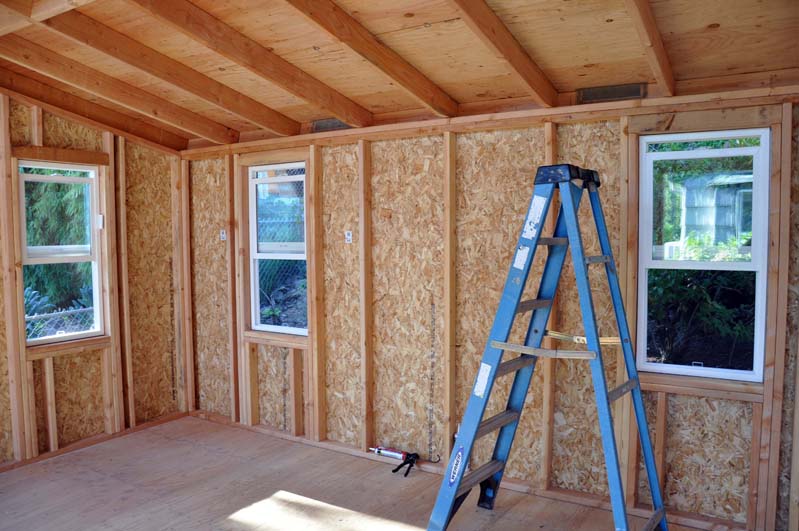
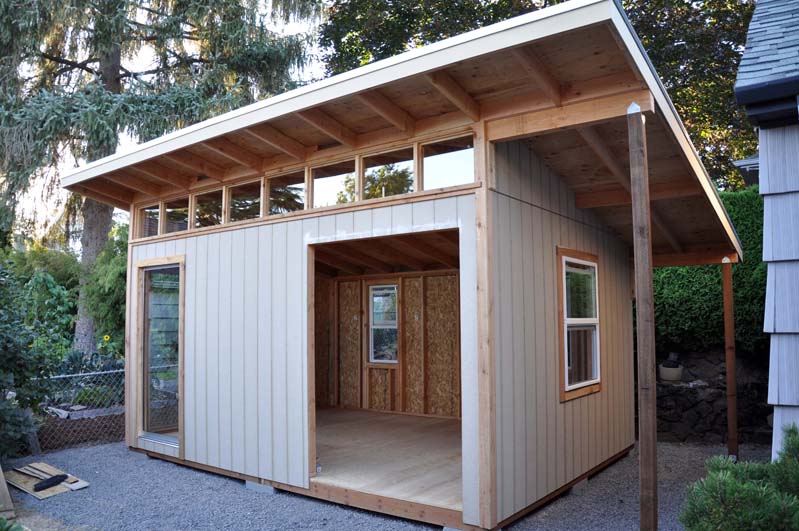
Here, some bracing is still up and none of the windows are installed yet, but walking into this space, I can now see exactly how it will be, even in its unfinished state.

The clerestory windows are gorgeous! It will be so fun to watch how the light and shadows change inside the building throughout the day.
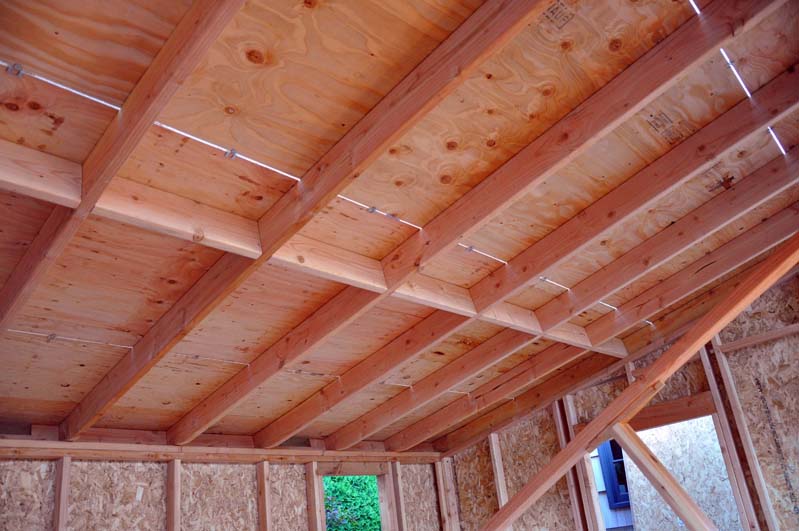
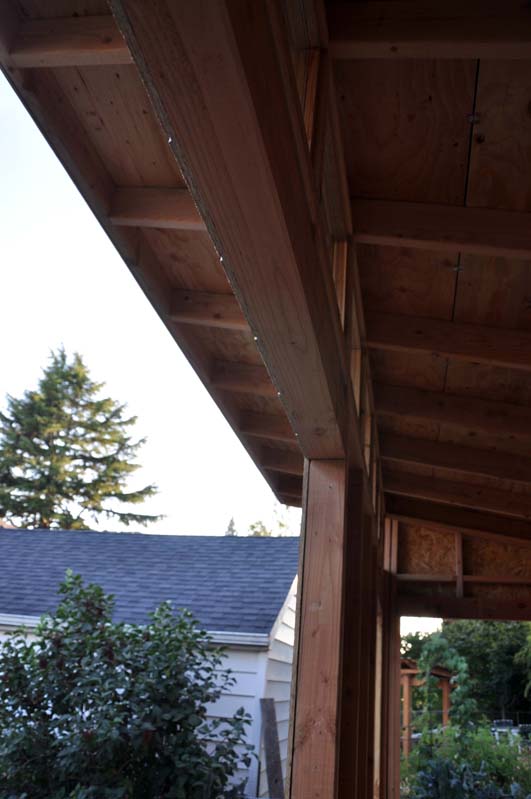
I am leaving the rafters exposed, a look that I really love!
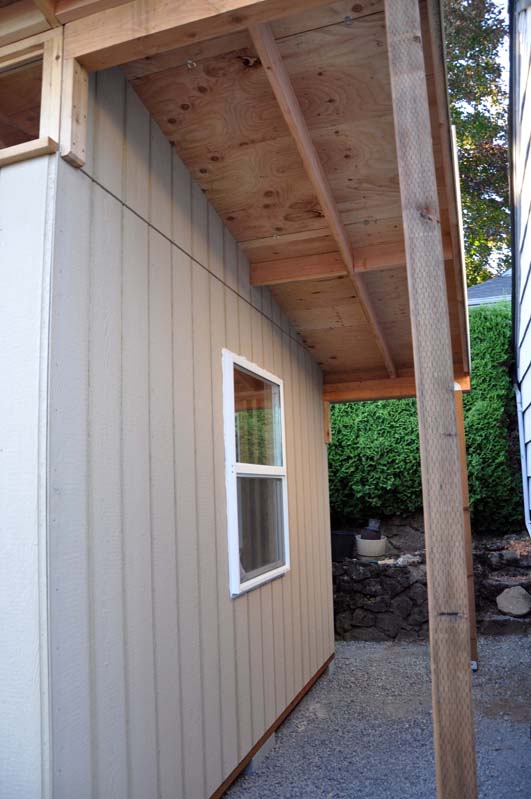
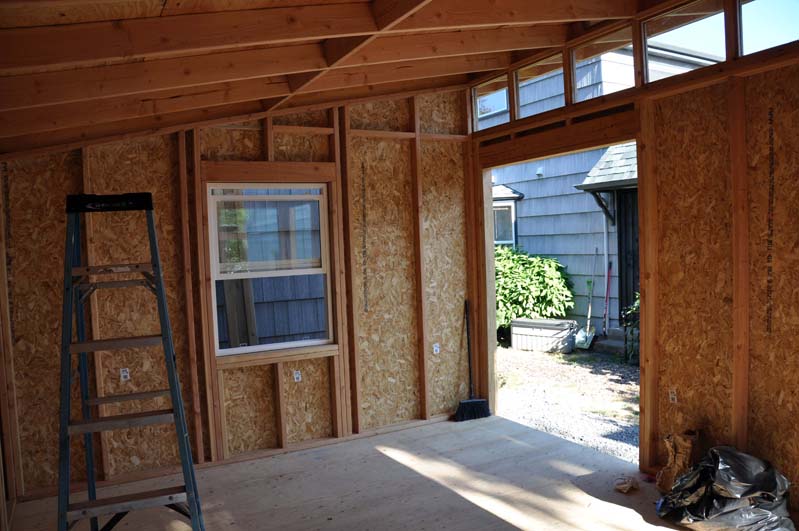
The little porch area just outside the building protects from the rain and sun. The back corner under this overhang is where I plan to eventually put my shop sink.
Windows are being installed!
Every evening after the workers leave, I spend approximately 20 minutes taking pictures of this marvelous space while laughing with delight, saying out loud, “OH! It’s SO beautiful!” while jumping up and down like a little girl.

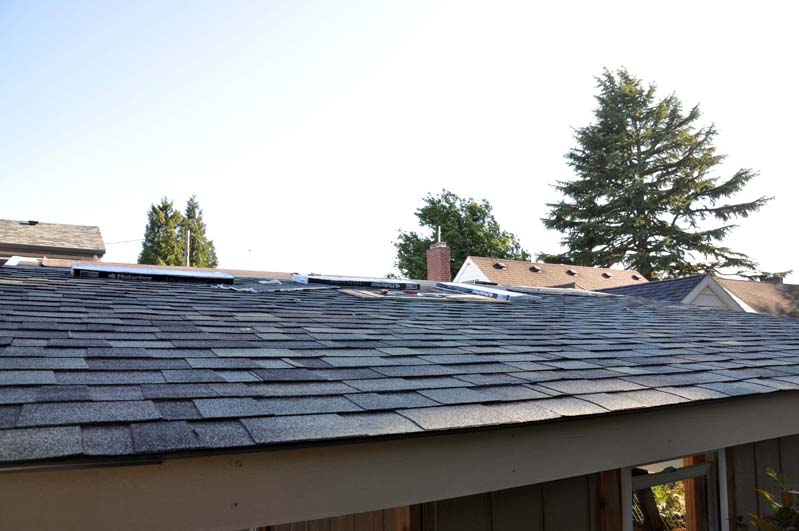
Now for the roofing. Because of the shape and placement of my building, the top of the roof is never really visible to anyone. This is a shame, because it is a beautiful roof–the shingles match the ones on my home for consistency.
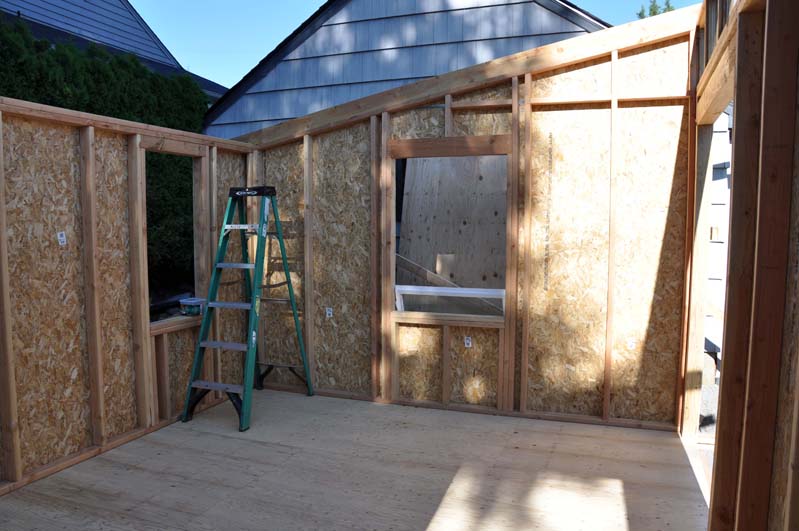
And now my “glass corner” is installed–one of my very favorite features of my new studio. Two huge panes of glass I salvaged from a pair of old sliding doors are installed in this corner. This studio is going to be absolutely flooded with sunlight.
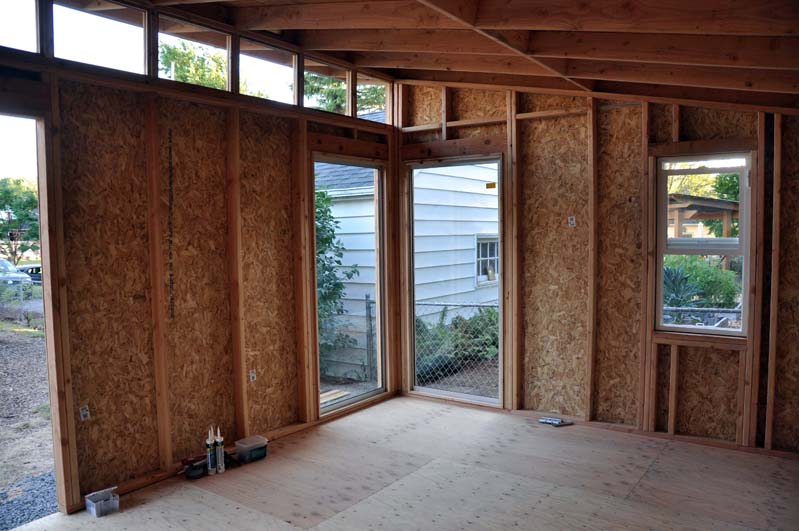
You can see one of the floor-to-ceiling windows of my glass corner here, on the right.
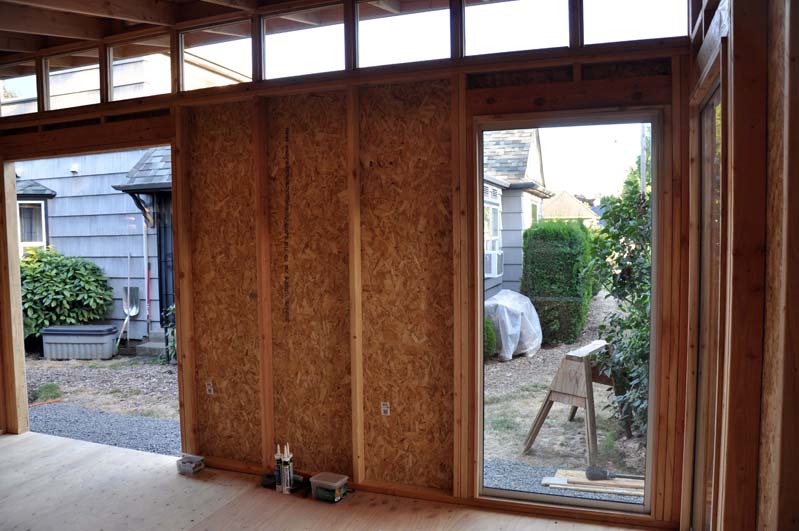
Next up: the big hole on the front right corner of the building will soon hold double French doors that swing out.
From this point on, my builder is leaving and the rest of the work is on me. So, let’s just say the progress from here on won’t be quite this speedy. Finishing the interior by myself will take up all my weekends over the next month and a half at least, counting on my handy spouse to lend a helping hand when he’s able. But that is okay. My goal in the end is to be moved in and fully operational before Portland Open Studios begins on October 8th. Even if there are still details unfinished by then, it will be okay.
I am over the moon!
In my next update, you’ll get to see what color I’ve chosen to paint the exterior!